You’ve fretted over materials, had endless debates about paint colours, and spent countless hours working on different areas of your abode, and at last, you’re finally done with your home renovation project. Now that you’ve enhanced your home’s value and aesthetic, why not celebrate it with professional photography? This is a great way to show off your personal style and taste while telling a compelling story of transformation, allowing viewers to see all the hard work, effort, and attention to detail that went into the home makeover.
Most people who are planning to put their newly renovated home on the market post professionally taken photographs of their property since doing so increases the likelihood of a successful sale. In fact, research by Zillow reveals that buyers will pay more than average if the listing comes with professionally-taken pictures, in addition to 3D home tours and interactive floor plans. However, taking gorgeous shots of your revamped home is still a good idea even if you have no intention to sell your property. The photos can be a source of pride and personal achievement, and they may even inspire your loved ones to start renovation projects of their own. For a successful photo session, here are some tips to get the perfect ‘after’ shots of your newly renovated home.
 Hire an Expert
Your friend or cousin may know their way around a smartphone camera, but if you want your photos to look more appealing, then think about hiring a professional photographer who specialises in delivering images for commercial and residential properties. An expert will instinctively know the best angles and lighting to show off your renovated home’s best features. They also use high-end cameras, wide-angle lenses, and even drone cameras to capture your property’s layout and details.
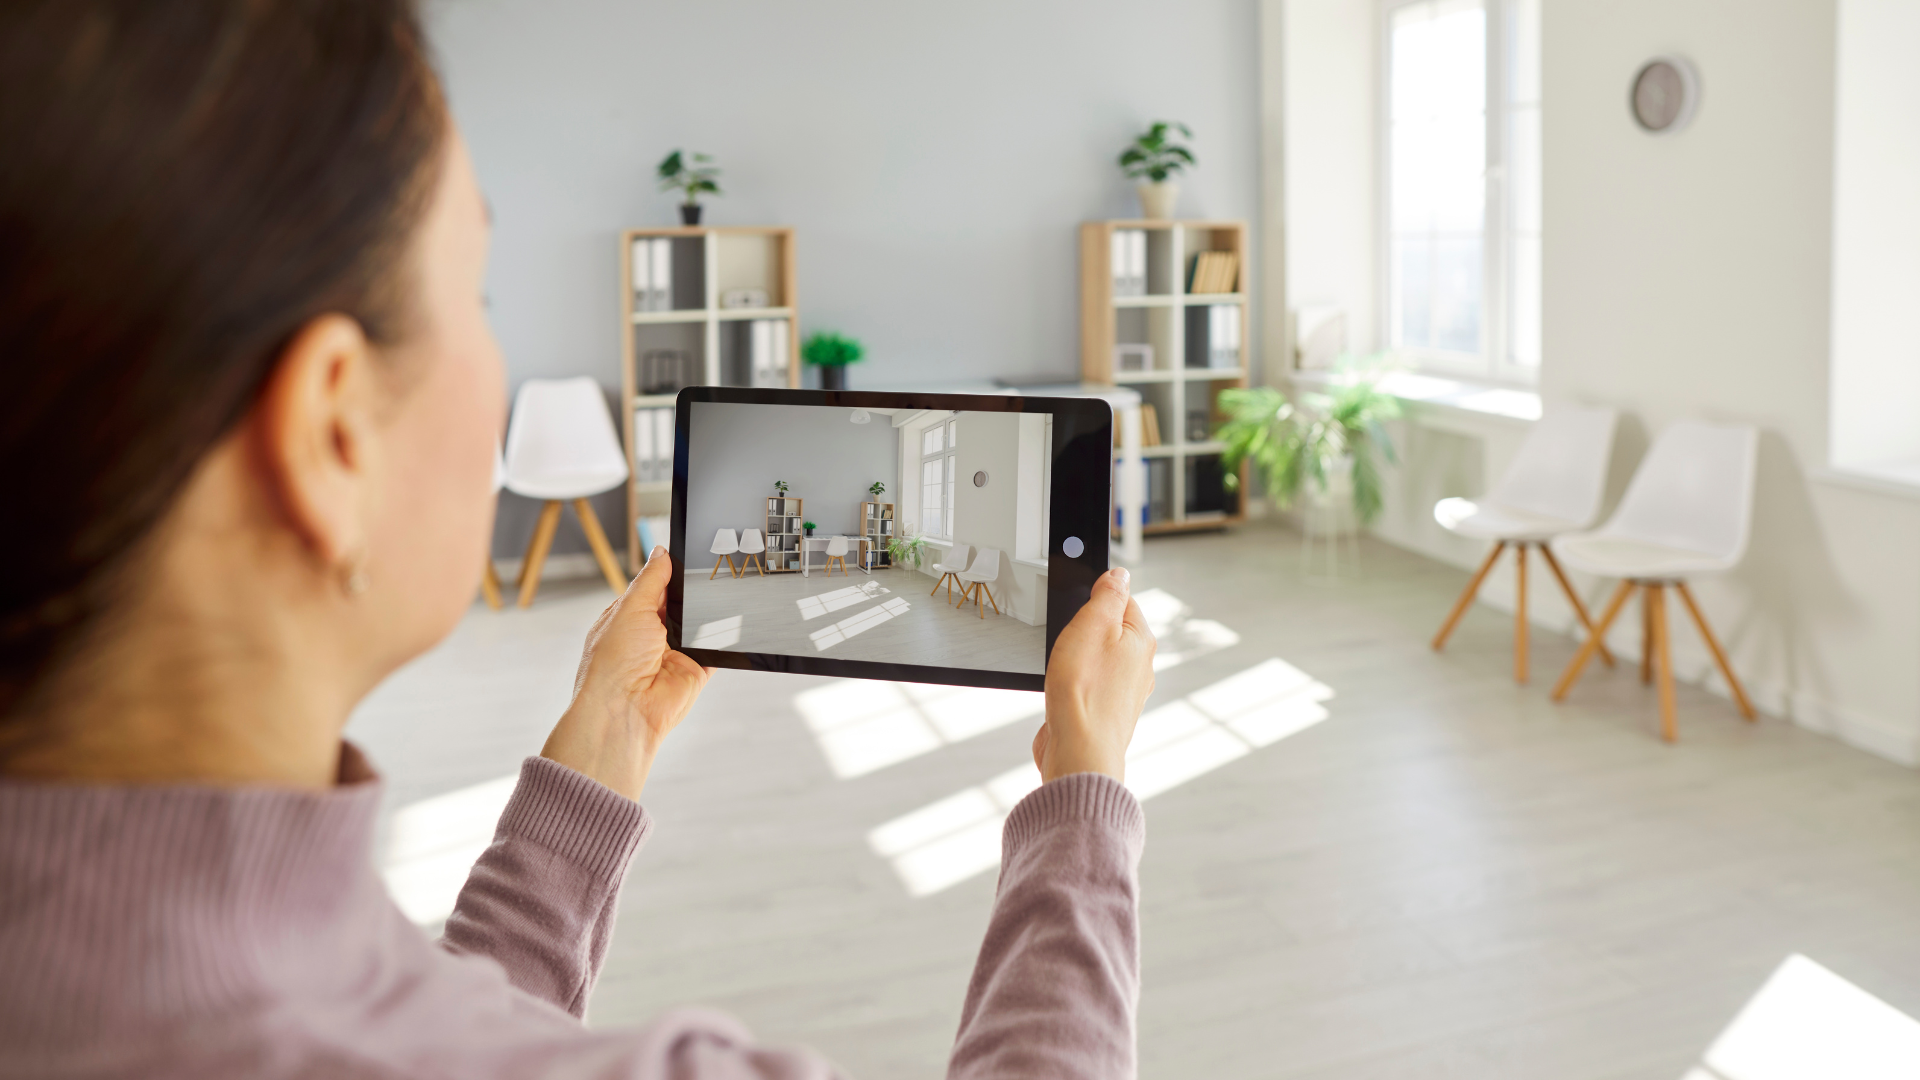
If you’re having photos taken to post on social media or a real estate listing website, be sure to ask the photographer if they can shoot and edit content for a 3D home tour. Instead of having one long video, ask for short, 1 minute walkthrough clips of selected areas to create an engaging viewer experience.
Prep Your Home
Prep your home for the camera at least one week before the scheduled photoshoot. Start deep cleaning by mopping the floors, vacuuming the carpets and rugs, dusting and wiping surfaces, and cleaning all the windows, mirrors, and metallic details until they shine. Next, add some life by incorporating live plants to your space, making sure to use the same type of pots in neutral colours. If you’re selling the house, declutter and depersonalize your living spaces by removing personal photographs, papers, cords, random objects, and toys.
You may also want to think about incorporating a few decorative elements to add interest to the space. Some accent pieces like an abstract painting in muted tones, a white ceramic vase filled with fresh flowers, new throwpillows on the couch, and a new fluffy rug are enough to create a visual impact. Have some props like throw blankets, ottomans, new crockery, and linens on standby since the photographer may want to add these into certain shots.
Shoot at the Right Time
Having your photoshoot at night may give your pictures a moody and mysterious quality, but if you want viewers to see all the special details and changes from your renovation, think about having the photo session in the morning. Your photographer may recommend doing so since taking pictures in daylight can make your spaces look larger and brighter. It also helps to make your home look more inviting since sunlight can reveal the true colours and textures of all the materials in your living spaces.
If you want the pictures to have a warm and cosy feel, aim to shoot in the early morning or in the afternoon since the light is softer, providing a friendly and welcoming vibe. If you prefer to highlight all the details of your home remodel, then have the photographer take the pictures in the middle of the day since you’ll get the brightest light at around this time. Assist the photographer so that the shoot moves along quickly. Note that the light changes every hour, so be prepared to quickly move or relocate furniture or props to get the best shots.
Taking pictures of your home after a renovation can serve personal or practical purposes. Whether you’re selling your home or just want to share photos of your newly enhanced space, hire a professional photographer to get the best shots, and enjoy looking at the gorgeous results of your efforts and hard work.
Transform Your Family Home This Season: A Mum’s Guide to Creating Spaces Everyone Will Love