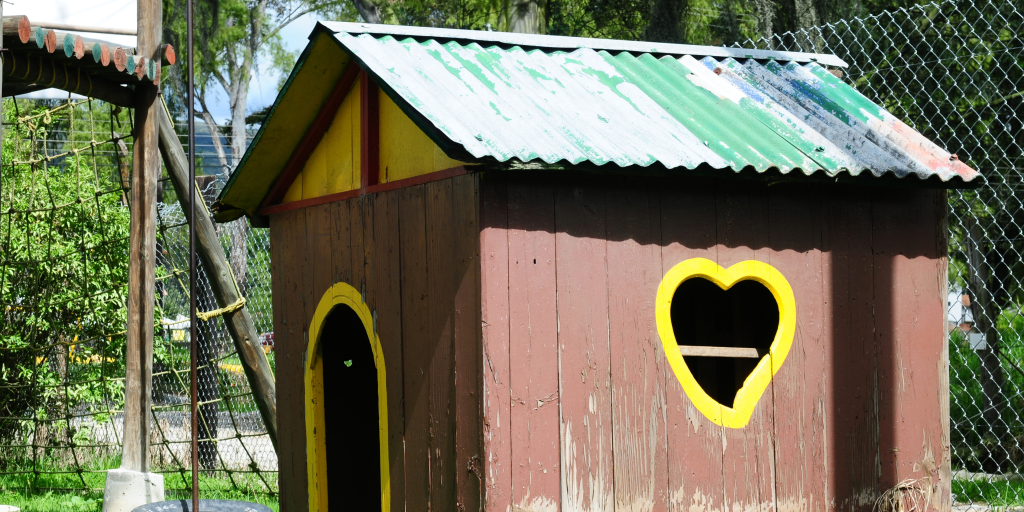
Transforming a simple shed into a whimsical playhouse is an enchanting project that can spark joy and creativity in children. Here’s a step-by-step guide to turning your shed into a magical retreat.
1. Planning and Preparation
Before diving into the transformation, it’s essential to plan. Consider the following:
- Space Assessment: Evaluate the shed’s current condition and space. Ensure it’s structurally sound and has enough room for play.
- Theme Selection: Involve your children in choosing a theme. Whether it’s a fairy tale castle, pirate ship, or jungle adventure, selecting a theme can guide your design choices.
- Budgeting: Set a budget. Factor in materials, decorations, and any professional help you might need.
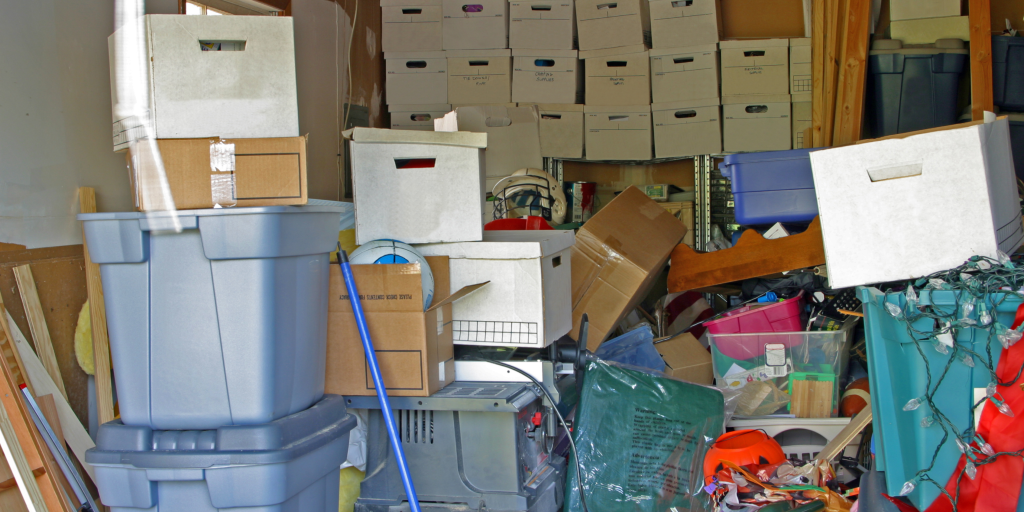
2. Cleaning and Clearing
Start by emptying the shed. Remove any clutter, old tools, or garden supplies. This clean slate will allow you to envision the potential of the space.
- Deep Clean: Sweep and mop the floors, clean the walls, and ensure there are no cobwebs. A clean foundation is crucial for a fresh start.
3. Safety First
Safety is paramount in a children’s playhouse. Ensure the shed is safe and child-friendly.
- Structural Integrity: Check for any repairs needed, such as fixing the roof or reinforcing the walls.
- Pest Control: Ensure there are no insects or rodents. Seal any gaps or holes.
- Childproofing: Install child-safe locks on doors and windows. Cover any sharp edges or corners with protective padding.
4. Insulation and Weatherproofing
To make the playhouse usable year-round, it’s essential to insulate and weatherproof the shed.
- Insulation: Add insulation to the walls and ceiling. This will keep the shed warm in winter and cool in summer.
- Weatherproofing: Seal any gaps to prevent drafts. Consider adding weather stripping to doors and windows.
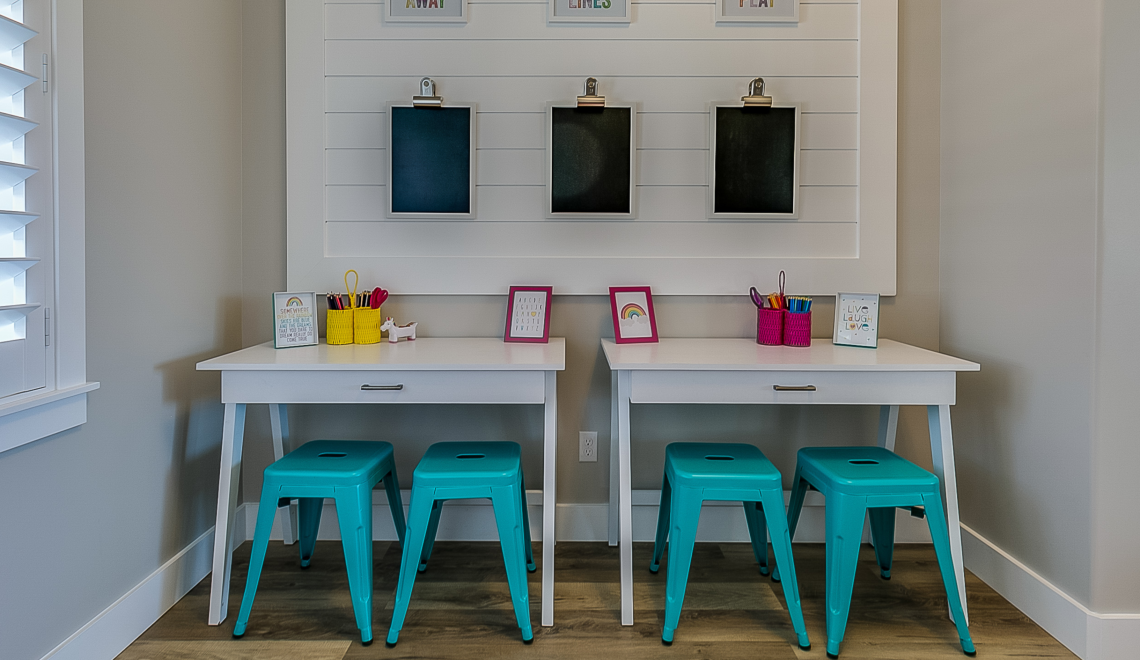
5. Flooring
Transform the shed’s floor into a comfortable, child-friendly surface.
- Carpeting: Install soft, durable carpeting. Interlocking foam mats are also a great option for added cushioning.
- Rugs and Mats: Add colourful rugs or play mats to enhance comfort and aesthetics.
6. Painting and Decorating
Now comes the fun part—decorating the playhouse!
- Paint the Walls: Choose vibrant, cheerful colours. Use non-toxic, child-safe paint. Consider adding murals or wall decals that align with your chosen theme.
- Ceiling Decor: Hang fairy lights, paper lanterns, or bunting from the ceiling to create a magical atmosphere.
-
Add Creative Artwork: Decorate the walls with personalized creations using paint by numbers kits from Number Artist to add a unique and playful touch.
7. Furnishing
Furnish the playhouse with child-sized furniture and accessories.
- Seating: Add comfy bean bags, cushions, or small chairs.
- Tables: A small table for arts and crafts is essential. Ensure it’s sturdy and at the right height for children.
- Storage: Install shelves or storage bins for toys, books, and games. Encourage tidiness by making storage easily accessible.
8. Personal Touches
Incorporate personal touches to make the playhouse truly special.
- Artwork: Display your children’s artwork on the walls. Use frames or a bulletin board to keep it organised.
- Photos: Hang family photos or pictures of friends. This adds a personal and homely touch.
- Custom Items: Personalise with items such as name plaques, customised cushions, or themed decorations.

9. Activity Zones
Create different zones for various activities to keep your children engaged.
- Reading Nook: A cosy corner with a bookshelf and comfortable seating encourages reading and quiet time.
- Art Station: Set up an area with an easel, art supplies, and a table for creative projects.
- Imaginative Play Area: Include props and costumes that align with the playhouse theme, fostering imaginative play.
10. Outdoor Integration
Integrate the playhouse with the garden to extend the play area.
- Porch or Deck: Add a small porch or deck if space and budget allow. This provides an outdoor area for additional play.
- Garden Path: Create a whimsical garden path leading to the playhouse. Use stepping stones or a colourful trail to make it inviting.
11. Final Touches
Finish off your playhouse with some final, thoughtful touches.
- Lighting: Ensure there is adequate lighting. Battery-operated LED lights or solar-powered options are safe and effective.
- Ventilation: Ensure the playhouse is well-ventilated. Install windows that can be opened, or add a small fan for airflow.
- Security: If the playhouse will be used regularly, consider adding a simple security system or baby monitor to keep an eye on the kids.
12. Involving the Kids
Make the transformation process a family project.
- DIY Projects: Involve your children in simple DIY tasks, such as painting or decorating. This can be a fun bonding activity.
- Decision Making: Let your children make some decisions about the decor and layout. This empowers them and makes the playhouse feel like their own.
13. Maintaining the Playhouse
Once the playhouse is complete, regular maintenance is key.
- Clean Regularly: Keep the playhouse clean and tidy. Encourage your children to help with this.
- Check for Repairs: Periodically check for any repairs needed to ensure the playhouse remains safe and in good condition.
Conclusion
Transforming a shed into a whimsical playhouse is a rewarding project that can bring endless joy to your children. With careful planning, creativity, and some elbow grease, you can create a magical space that inspires imagination and play. Happy building!
![]()